

Hatches, hatches, hatches and non-slip deck paint :-)
Closed Captions (CC):
[Music]
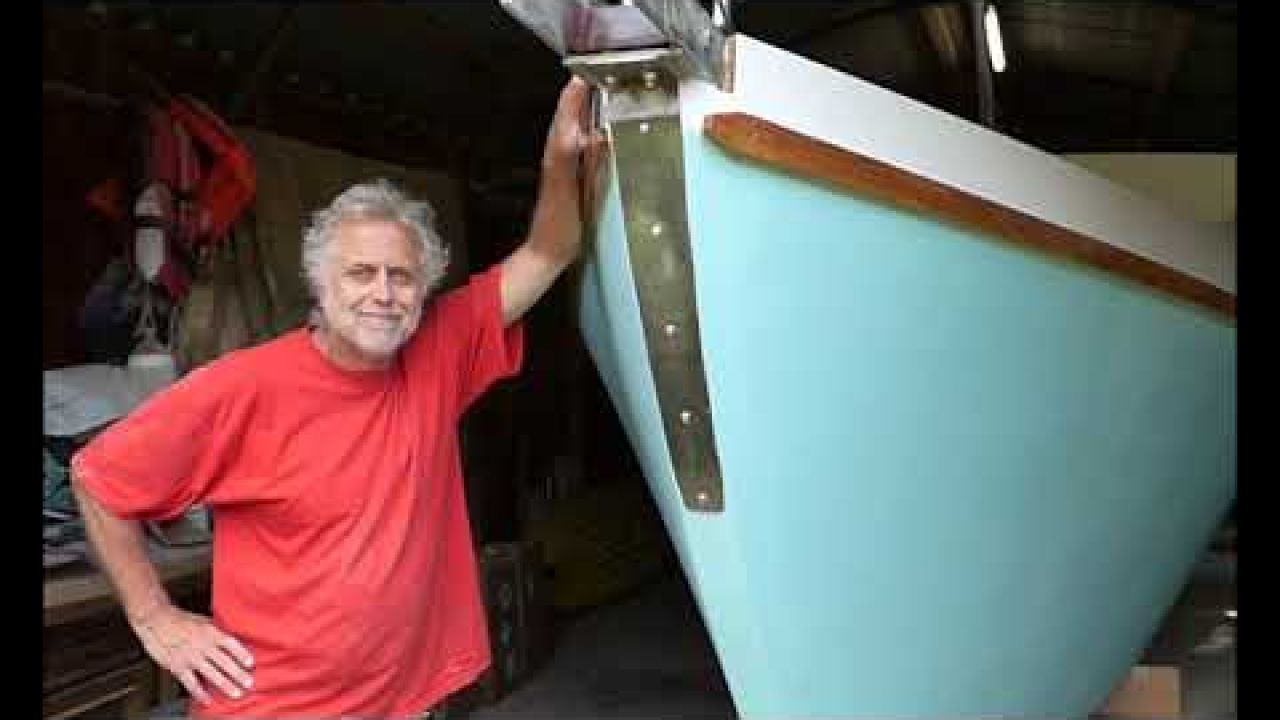
hi everyone
i'm tony this is s vitapatcher recording
as i say nearly every week a cruising
sailboat
ah and i i'm happy this week
and perhaps as a little comment a short
comment to be made there's
you know some weeks you feel like you've
done well other weeks
somehow you haven't got as much done as
you wished
this week i'm happy
quite a bit done i think anyhow we'll
start
right here on the aft deck because
if we look this way you will see it's
very
nice and sadly very expensive shore
power connection
[Applause]
so
[Music]
[Applause]
[Applause]
now
that goes on there
all right okay
good now we're just going to slide that
onto position like that
all right okay this one comes up here
over there like that
and that is going to go roughly speaking
in there
so
[Applause]
it's good
[Applause]
master volt socket then there with that
with the
suitable plug on the end of the cable it
goes in there and locates
locks in position obviously the cover
comes down and locks it shut
there's a and what i was most impressed
with is how
deep notice i can show you how deep um
trouble is the powers on to them
how far in that plug goes you see our
that in
in that is now look right pull that out
first it's fairly stiff see that it goes
in
four to five centimeters almost two
inches of contact
which is very very significant and it's
good as you can probably tell there's a
good stiff
fit in there there we go locked in
position
so very nice that was the first job
and i followed that up on the arctic
here with these
but these three plastic hatches
[Music]
hey
in sealed in position these two are just
into storage for bits and bobs you know
binoculars gloves whatever
um the one up here kerry is through the
diesel day tank you you might have
noticed
something different once out here and
that is that the half deck is now
completely painted i've got the non-slip
patches down here and on the raised deck
there
15 centimeters off the deck rails
and then from the hatch turtle we angled
across 20 centimeters off of it
at the near end here we're 18
centimeters off i do believe we are
yes
um
um
yes
oh
two big patches on the rose deck two
naturally slightly smaller patches on
the aft deck due to the fact
that they are thinking smaller um i used
the
same brand that i've used for everything
the epoxy the paint everything i all get
from the same supplies as
pink and non-slip and i'm so far
entirely happy with it it's got a good
non-slip surface to it it's a satin
it's not glass it's satin finish whereas
the around the outside of the panel is
gloss
then i've got two coats
of gloss paint on the on the sides here
bull works
coaches sides
so
no doubt we'll need another coat before
launch but but it'll do for now
collect lost um yeah
quite nice i think this is is the
lazarette hatch and
you know i've been uh on it for a while
um
and it's now actually approaching being
finished
i wanted to change the design a little
bit just to make it
more waterproof so i it's a bit sticky
i've just finished it but um i'll put
this second
layer around that so it comes down onto
the hatch and then
around the outside of the hatch frame as
well
three would be probably
[Applause]
uh
[Applause]
scriptures
[Applause]
[Laughter]
[Applause]
[Music]
hey
looks like that
[Applause]
[Music]
[Applause]
so
[Music]
[Applause]
[Music]
very nice
[Applause]
[Music]
[Applause]
[Music]
[Music]
and while we're on the topic of adapting
hatches
this is the sliding hatch for the main
entrance hatch
i've done two things to this obviously
just been vanished again so wet and
sticky
but one of the things that bothered me a
little bit was
the the purse bricks that's going in
here
still got the protective cover on it but
but with the protective covers on it
actually sits
a fraction higher than my than my rebate
and i didn't
want that's okay on the edges it doesn't
matter but in the middle i didn't want
water collecting
in the middle so i had various options
but i decided perhaps the
best way to go was just to raise the
middle strut
up a little bit so i've put
roughly a centimeter of extra mahogany
on top of that
um to bring it up so there's no lower
gap in the middle there
obviously i had to cut a little bit out
of the hatch turtle to clear it but i've
done that and
it's just working well and the other
thing i need to do
there are some screws through here that
need to plug in so i cut the
half inch plugs and pop them in there
[Music]
[Applause]
to clear that bite
[Music]
[Applause]
yeah should do the job
and that guys is about it for this week
thank you for watching
you know what's it than that and you
know what's it and that and the bell and
all the things and see you next time
[Music]
bye
[Music]
so
[Music]
hmm
[Music]
Uploaded by:
SV Tapatya
•
Category:
Boat Building/Maintenance/Repair, Instructional
•
Added on
31 July 2020
•
Location:
Conwy, Wales
Description
Hatches, hatches, hatches and non-slip deck paint :-)
Closed Captions (CC):
[Music]
hi everyone
i'm tony this is s vitapatcher recording
as i say nearly every week a cruising
sailboat
ah and i i'm happy this week
and perhaps as a little comment a short
comment to be made...
Closed Captions (CC):
[Music]
hi everyone
i'm tony this is s vitapatcher recording
as i say nearly every week a cruising
sailboat
ah and i i'm happy this week
and perhaps as a little comment a short
comment to be made...