

In this episode of Sailing A B Sea we show you how to replace a head sail furling line, where to buy cooking gas in Milos and the reason why we need to repla...
Closed Captions (CC):
Well there's good news and there's bad news.
The headliner came down very easily
The bad news is there is no access to
the underside where that block is
attached on the deck.
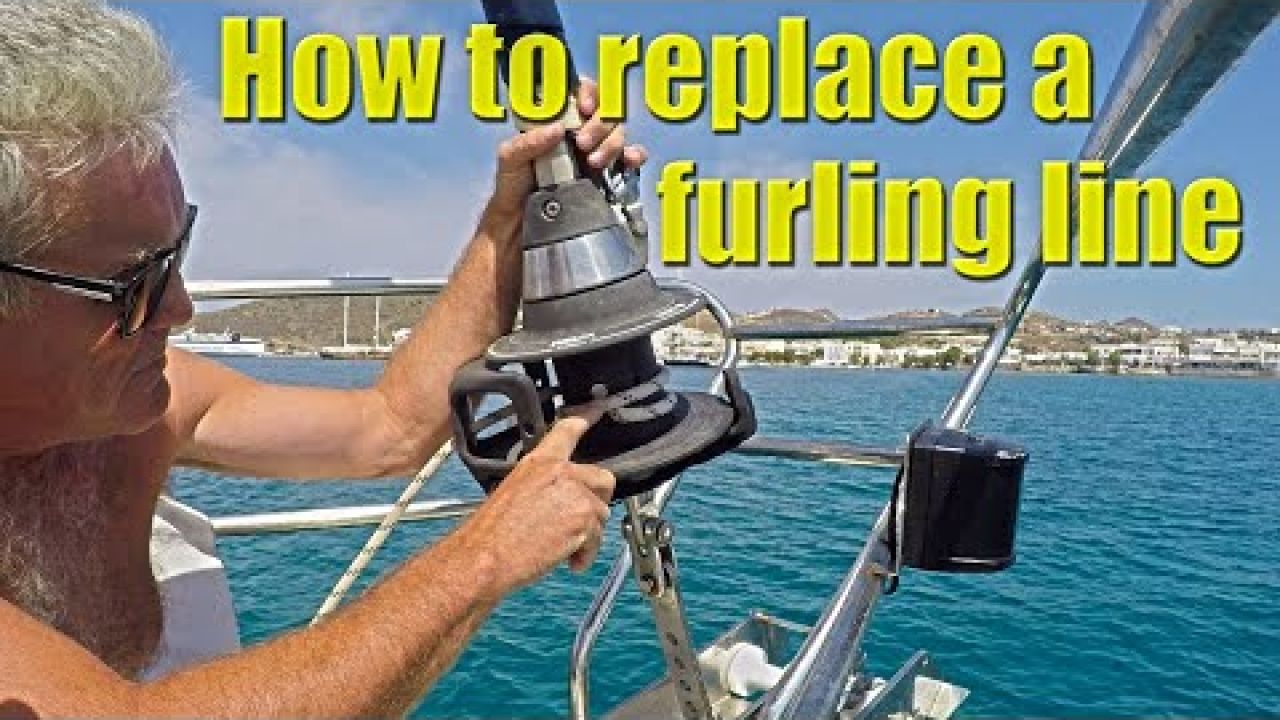
Today is a fairly windless day so today is the day that
we're going to put this brand new
furling line on the furling mechanism of
the headsail
Something we've been keeping
an eye on for the last couple of weeks
was the furling line for the head sail
the outer sheath had started to fray
When we tried to reef, the sheath had
completely separated and we could
actually see the main core and then the
sheath got bunched up on the outside of
the jammer and we just couldn't pull it
through so using electrical tape this is
the bit that we managed to neaten up and
slim up and that slipped quite easily
through the jammer and once it was
through I was able to lock the jammer off
This little bit of black electrical
tape is now our eyeball for how far we
can actually let this furling line go
out. This is our enforced reefing point
basically so for now we're having to run
with a reefed head sail.
I did have a read of the instructions which are not
as instructional as I'd like them to be
but with the knowledge I gained there
and also from what I can remember when
Mike and I took the line off the head
sail when we first arrived in Turkey
I should be able to get this job done.
The first screw to undo is this one here
at the back and once you've got that out
and you're careful not to drop it
overboard then this whole cowling can be
lifted away
These two screws at the
front are not actually screwed into
anything they're just holding the front
end of the cowling into a hole either
side of this black plastic
Now you don't
really need to remove this piece of
black plastic or even drop it down it
does hinge down which comes down like
that. It's already in the right position
for the line coming in and out and I'm a
firm believer of letting sleeping dogs lie
Once this cowling is off we can then get
access to the plastic on the inside and
these two cracks is one here and one on
the opposite side and you need to get a
firm screwdriver in there a really big
firm screwdriver in there and really put
some serious hard effort into prizing
the two pieces of plastic apart
As you can see
the line is only held in
by having this plate in there
So that screw that I've unscrewed
that backs onto this plate
and that plate holds the line
Wow. Yeah wow. I can't show you right
now because it can't furl the drum any
further but this hole on this piece of
plastic has a corresponding hole on the
other side and it has a great big
flathead screw in it and that flathead
screw is attached to a plate of metal on
the inside which holds the furling line
firmly and securely into the drum
Putting it all back together is just a
reverse of what you did to take it apart
and what I found worked best for putting
the two internal pieces of plastic
together was to wrap the furling line
round them as you tried to squeeze them
back together and the furling line gives
a much firmer grip than your hands can
and eventually they will click back into
place and you'll know when they're back into place
You're awesome Baz! You're a legend!
Wow
That was not nerve-wracking in the
slightest - no, no. Not at all.
I was clenching all sorts of things
there, teeth, stomach ...
Well here's an update on the autopilot
situation I've just been having a a
messenger conversation with Jim who if
you'll recall took our broken auto pilot
back to Marmaris on the boat Acheron well
he took it into Nail at NaTo Marine
Services and left it with him overnight
the next day when he went in to
pick it up Nail said there's nothing
wrong with it
it's working perfectly and showed him
had it all connected up to all sorts of
attenuators and displays and artificial
rudder things and everything all working
perfectly. So that's the good news
Now the problem is we need to get our
autopilot back to us, the autopilot's still
somewhere in Turkey on Acheron with Jim
and of course we are in Greece. Now
sending things to a Greek address from
Turkey can sometimes take an immense
amount of time due to customs and all
sorts of other problems and of course
that means we have to stay in one place
waiting for the package to arrive so
what we decided to do is it'll be
quicker to get the autopilot couriered
from Turkey to Australia in time for our
son to bring it over from Australia to
Greece so that's the plan for that.
Of course, the bad news is it means if
there's nothing wrong with the autopilot
why did it fail on that day and my
thought is it's got to be the wiring
The autopilot saga continues
I've said it
before and no doubt I'll be saying it
again, on a boat one job always leads to
another job and this time is no
exception. You've just seen us replace
the furling line for the head sail and
as I was leading the line back to the
cockpit area I looked at this little
block this is a cheek block or a foot
block and I noticed that we could
actually see the ball bearings or the
nylon bearings in this case. Well that
means that the plastic that protects
that area has broken away and this is
one of the original blocks that was
fitted on the boat when she was born 24
years ago. Also the little end of the
pulley here is a little
a bit ragged which means that it's going
to be rubbing against the new line that
we've put in and that's not a good idea
so I've removed this from the front of
the boat and I've been looking online
for replacements. This is a Harken cheek
block and they are super super expensive and
the reason why I wanted to get the same
one is because I didn't want to drill
any more holes in the boat than
necessary but the price of these
Harkens is just ridiculously it prices
them out in the market for us. We have
looked at others online, they are
available, we could probably get one sent
to our son in Australia because he's
coming out here next month but again the
fittings are all different and I'm not
sure on delivery time and so on and so forth.
There is however a
plan B and if you come forward I'll show ya
That block above the forward head on
the starboard side is unused it's the
same shape it's the same size it's the
same model. Of course it does mean it's
the same age, twenty four years old but
it's the only choice we've got at the
moment so I've got to go inside take the
lining of the head down from ceiling and
see if I can get access to the nuts
because when I took this one out you have to
access the nuts at the back and the bolts at the top
Let's go and play in the head shall we?
Here in the forward head the first thing to do is
to remove these little plastic caps
where the screws hold the headliner up
and then we can get a Phillips head
screwdriver in there, (there's a lot of
head words in this segment) in there and
unscrew this. We should just be able to
leave that in place and pop the lining
down over it. There is a light fitting
here which has four screws but it's
possible that those screws only go into
the liner and not right through into
either some wood or GRP. We'll find out
of course when we take these screws out.
Well there's good news and there's bad
news the headliner came down very easily
the bad news is there is no access to
the underside where that block is
attached on the deck. If we're outside
this window and go in that direction to
a roundabout here that's where the block
sits. It would appear that if that block is
attached in the same way as the block
that we've removed is attached then we'd
have to take out this whole port light
and that really is too big of a job just
for that block
Well we've just made an
executive decision and because we can't
take a chance on that block over there
on the starboard side being fitted
exactly the same way we do run the risk
of trying to pull it out and then having
the nut get stuck because of the
Sikaflex that was put into the hole to
make it watertight when it was first
installed and then having the deck
fitting the block half in and half out
with no way of retightening it because we've
got no access to the nut and no way of
getting it fully out. So rather than run
that risk we've decided to just pull the line
through I think it's called a bullseye
which basically guides the line back
here. It actually looks better because
the line is not actually rubbing against
the grippy GRP of the deck which is what
causes the lines to fray in the first
place... but it is a bit of a potential
trap hazard... there is a slight trip
hazard but we're aware of it, it's better
than the other hazard of having a block
half in and half out swinging around on
deck and leaking and all that kind of
crap so I can't take that chance but we
will order a block from Australia and
get our son to bring that out and
replace it at the front at some point
A couple of our subscribers have asked
what do we do, what is life like when we
are at anchor? Well I can't tell you it
does involve a lot of that this is where
we both edit videos write our blogs and
deal with all the social media presence
we have and generally stay connected to
the internet and you guys and if it gets
too hot or we've finished work for the day
then we can head up into the cockpit and
have a swim
I have to say I do enjoy this part and living on a boat.
And at the end of the day we can sit in the
cockpit and enjoy a nice cold drink while
watching the sunset. And I'd just like to take
this opportunity to welcome on board our
latest Patrons, that is Boston and Piper Elmore
Cheers you guys, thanks a lot!
Well that took longer than expected. One of our
cooking gas cylinders ran dry and I
decided that today was the day well this
morning was the morning that I was going
to get it replaced. So I asked at the
hardware chandlery store in town and
they went, No we don't do it
it's a petrol station you need mate. Now
I was quite happy about that because I
can see the petrol station from here
it's 200 metres that way so this morning
I took our gas canister there and showed
it to the guy and he went, Oh no, not this
petrol station
it's the petrol station on the road to
Pollonia. I went, Oh. Do you have a motor bike? I said No I'm on foot. Oh well it's
two kilometres and I went err. Two kilometres is not bad I can do a four kilometre
round trip. As I turn to leave the key to
what he said was, It's just after the
hill. Everything in Greece is up a hill
So long story short four kilometre round
trip, now we have a gas canister
and if you want to get one for your boat
while you're in Milos, I would say get
a taxi unless you want to be sweaty
So now after doing that, I'm gonna do
this! Oh and one more thing I learned about
Milos. They have hedgehogs here and the reason
I know that is because I saw several of
the flat-pack variety along the roadside as I walked
Better?
That's much better
Next week on Sailing A B Sea we celebrate my
birthday, we have an Internet win and we
explore some of Milos Island
If you've liked this video give us a thumbs
up and subscribe if you haven't already
done so and ding the bell icon so that
you get notified of future videos
Thanks for watching
you
Uploaded by:
Sailing A B Sea
•
Category:
Boat Building/Maintenance/Repair, Instructional
•
Added on
07 September 2019
•
Location:
Milos, Greece
Description
In this episode of Sailing A B Sea we show you how to replace a head sail furling line, where to buy cooking gas in Milos and the reason why we need to repla...
Closed Captions (CC):
Well there's good news and there's bad news.
The headliner came down very easily
The bad news is there is...
Closed Captions (CC):
Well there's good news and there's bad news.
The headliner came down very easily
The bad news is there is...